
Homemade Lip Moisturizer
I simply cannot do without a lip moisturizer. I mean, I put them on before bed and all. Without some kind of moisturizer my lips just feels totally dry even though they may not necessarily look dry. Although, I usually find that some lip gloss/moisturizer/lip balm, whatever you want to call them do not keep the lips moisturized for long. Maybe I just need to find the good ones!
In any event, I wanted to try making my own to see what the results would be. I was really satisfied with the results. With this five ingredient homemade moisturizer my lips remain moist for a good amount of time.

The base ingredient I used was Shea butter. Shea butter is a powerful skin healing agent. It works as a skin moisturizer, helps to reduce stretch marks, softens and heals rough, dry, and cracked skin, etc. In addition to the Shea butter, I used coconut and Vitamin E oils, which are both known to have great moisturizing skin effects, such as softening rough dry skin and reducing fine lines and wrinkles. To read more about the benefits of coconut oil, follow my post here.
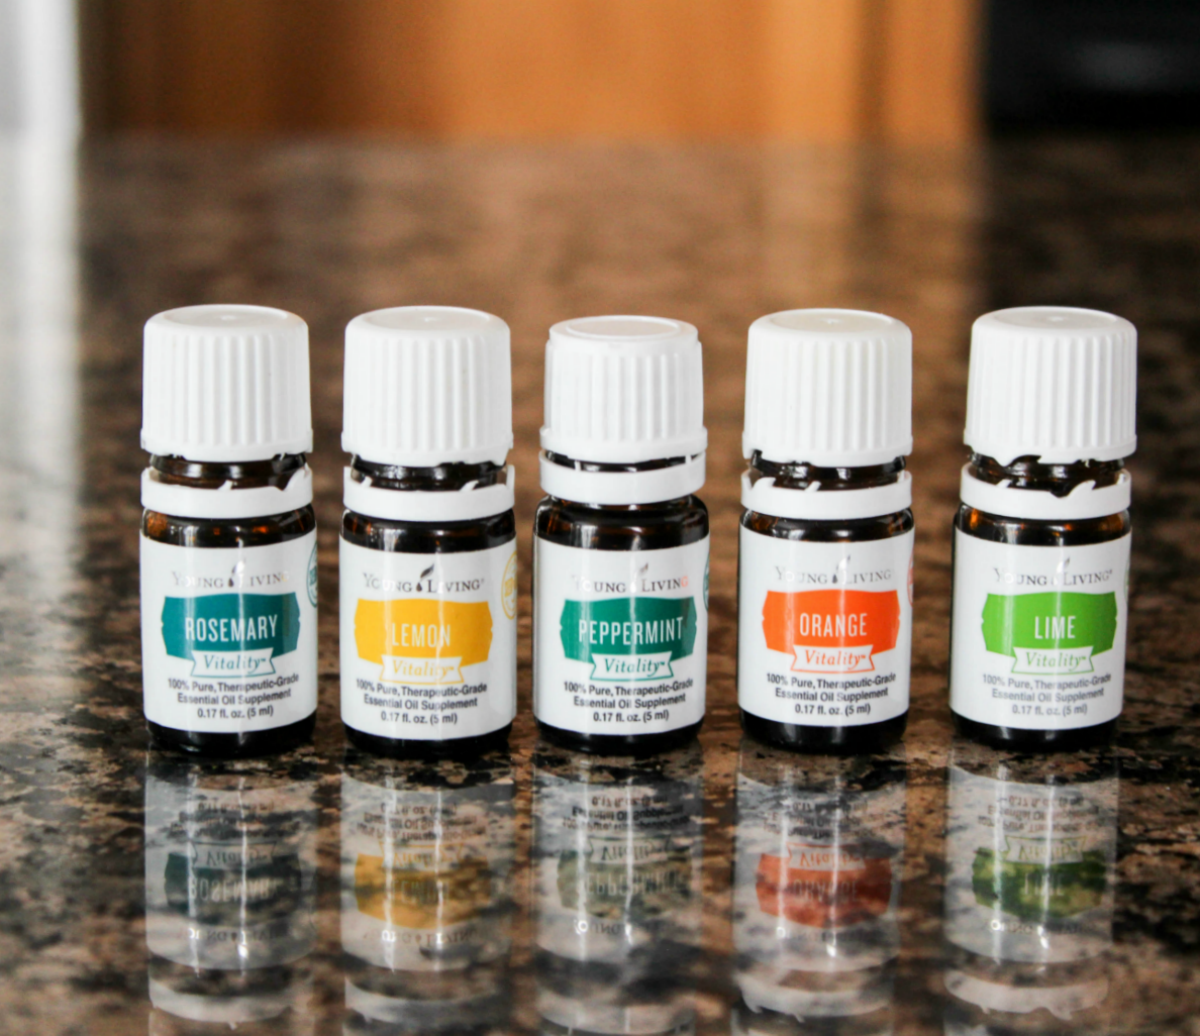
I also used some peppermint and lavender essential oils. Peppermint oil is very refreshing and can be used to aid in digestive problems. However, it is a very strong oil so I toned it down some with the lavender which is very mild and is used for various types of skin care, burns, rashes, cuts, soothing, you name it! The oils mixed together make a really nice mild combo! After filling the small tubes with the lip moisturizer, I added a hint of cocoa powder to one of them for color.

Who doesn’t like peppermint and cocoa together? Brownies anyone??? Then I filled them into little cosmetic storage containers and placed them in the refrigerator to firm up. See notes below on the recipe card.
As you may notice, when the mixture is hardened, the cocoa leaves tiny spots in the moisturizer. No worries because once it is removed from the refrigerator and stored in the bathroom (that is where I keep mine) it will soften and smooth itself out. See this next two images. Remember, the cocoa is optional.


Anyway, if you are so inclined to try it out, here is the simple recipe I used.
- 2 Tablespoons organic Shea butter
- 1 teaspoon organic coconut oil
- 1/2 teaspoon pure vitamin E oil
- 5 drops peppermint essential oil
- 5 drops lavender essential oil
- 1/8 teaspoon cocoa powder (Optional)
- Using a double boiler, melt Shea butter over low heat.
- Remove from heat.
- Add coconut and vitamin E oils and stir well.
- Mix in 5 drops each of lavender and peppermint oils.
- Pour mixture into three 5 gram cosmetic containers (or small cosmetic container size of choice).
- If using cocoa, here is where you add it in and stir really well until it takes on the color and the cocoa has dissolved.
- Seal tightly and place in the refrigerator to harden.
- Note: Placing the moisturizer in the refrigerator takes it from liquid oily state to a solid state. Once it is removed from the refrigerator and stored in the bathroom or someplace else it will soften out (not melt) as seen in images 3 and 4. That is totally fine. In fact, I like it better this way.

Have you tried making any kind of lip moisturizer before? Or maybe just using some kind of oil instead of actual moisturizer? I would love to have your feedback in the comments!
This post contains affiliate links which means I receive a small compensation if you make a purchase through any of these links. Thanks!
She looketh well to the ways of her household, and eateth not the bread of idleness (Proverbs 31:27, KJV).


This sounds like a good idea. I’ll have to give it a try.
It is super fast to make, too!
Thank you for the recipe. I cannot live without my lip moisturizer. I’ll definitely try this out.
I hope you like it if you try it!
I’ve never made moisturizer before but it looks like an easy thing to do! I love coconut oil. I use it on my face fairly often. Where do you purchase regular shea butter?
I purchase the Shea butter from Amazon. See the link in the post!
This is awesome!!
Thank you Sonali!
How fun! This is a must try! Thanks for the post!
Hope you like it Lorelai!
Ooo, that looks amazing! I’ve never tried to make anything like that before, but I can definitely go through the lip moisturizer with no problem LOL Thanks for being a co-host with us over at the #HomeMattersParty – we appreciate YOU!
This is so easy to make – about 5 minutes:)
These look like they would actually be pretty easy to make….something I never considered! I’m a big Burt’s Bees fan, but the ones you shared here make me want to give the DIY variety a go! Thanks for sharing with us at Merry Monday….and for co-hosting the Mother’s Day giveaway with me! 🙂
You are so welcome! These are so easy – I have never used Burt’s Bees for this!!