Painted Jack-O-Lantern Pumpkins
Let your kids create Easy Jack-O-Lantern Pumpkins by using black paint – no carving needed, especially if your kids aren’t comfortable with it or not old enough to carve.

My kids enjoyed painting pumpkins and designing them into Jack-O-Lanterns. They turned out very cute. I love how each of the faces look a little different. I’m going to use them in our porch décor. So fun! You can check out the Glitter Painted Pumpkins in this separate post.


How to Paint Jack-O-Lantern Pumpkins
What you need:
- Craft Pumpkins – This year we found some Styrofoam ones from the Dollar Tree (they had them in white, black and orange)
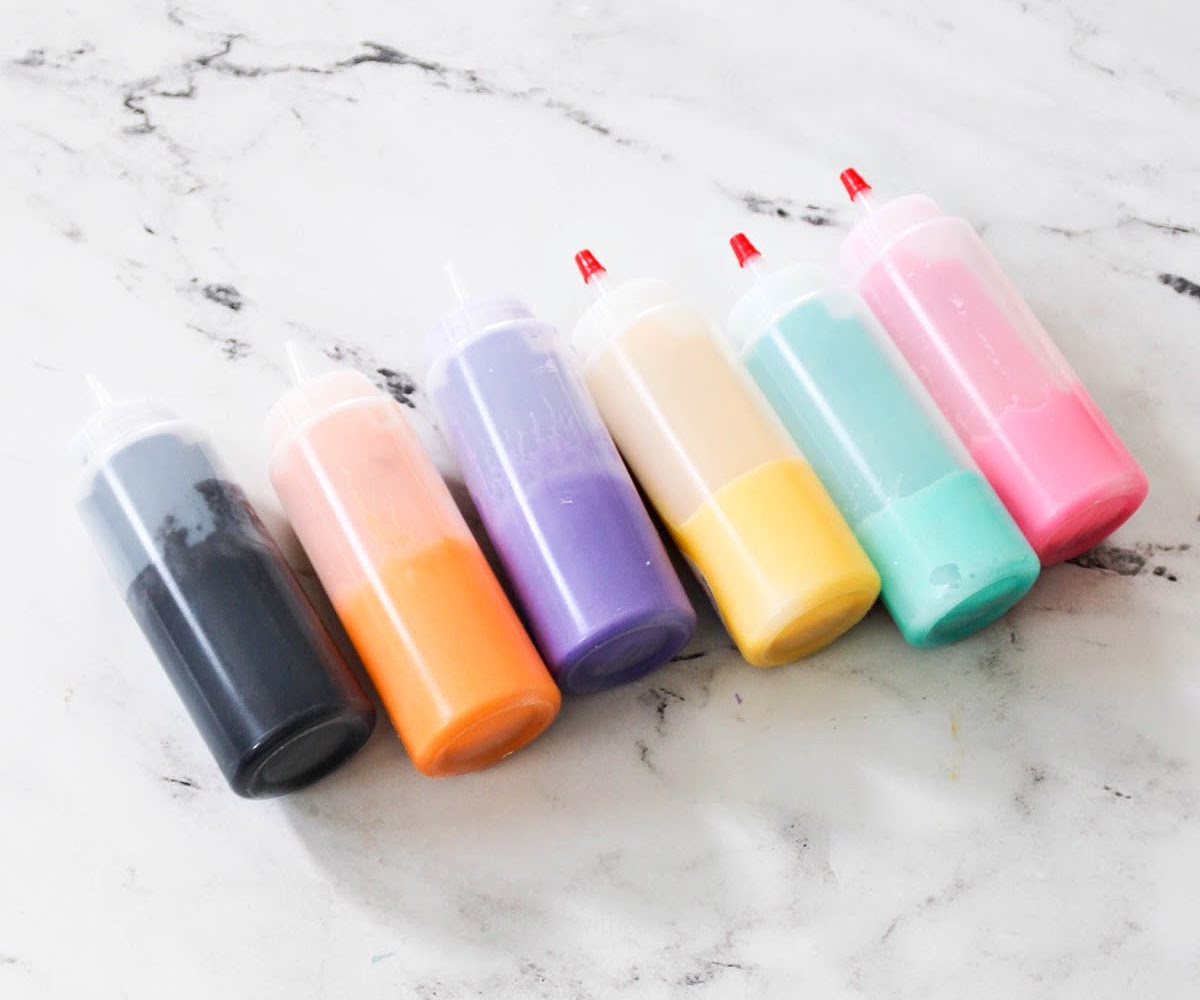
- Acrylic Craft Paint (any color you like)
- Black Acrylic Paint
- Paint Brushes
- Something to pour the paint in
- Table Protector (like an old tablecloth, newspaper or such)
- Optional: Painter’s tape if you don’t want to paint the stem
- Optional: Glitter
What to do:
- Wrap the stem in painter’s tape, optional (visual tutorial)
- Apply a first coat of paint to the pumpkin
- Let it dry
- Apply a second coat of paint and even third coat of paint, if needed
- Note: If you are using glitter, sprinkle it on after the last coat of paint before it dries
- Let the pumpkin dry.


Creating a Jack-O-Lantern Face on a Pumpkin
- Now it’s time to create the faces
- Use black paint to paint on eyes and mouth
- Now you can use it in your decorations


Hope your kids enjoy creating some fun Jack-O-Lanterns this Fall without having to feel the hassle of carving, if they aren’t comfortable or old enough to carve.
Pin It Here